

10 Tips for Making the Most of Neutral Density Filters 🌤️
Coming up: Madagascar scouting trip and The Creative Flow! ✨

First of all, I have two things to say: wow and thank you! Something happened this past month and all of a sudden there are a whole lot more of you on Fuelled by Creativity. A warm welcome to those who are new to this photographer’s newsletter!
I’m writing this while on a stopover in Qatar en route to an OFFBEAT photography workshop in Kenya. From there, I’m travelling to Madagascar to do some reconnaissance for the first-ever Immersion Series: Madagascar in 2025 (open for registration). I can’t wait to report back next month with some images from this trip!
Here’s what’s in this month’s issue of Fuelled by Creativity!
Reader Question: All about neutral density (ND) filters
Coming up for paying subscribers: REFRAME
Featured photography workshop: The Creative Flow
See you next month!


Reader Question of the Month
Want to ask something? Submit your question here!
Q: I find neutral density filters to be both overwhelming and confusing. I often opt not to use them even though they are in my camera bag. Any tips!?
A: After over a decade of teaching, I've found this problem to be true of many photographers. They buy neutral-density filters only to let them gather dust at home or in an obscure corner of their camera bag. It’s such a shame because "NDs" can unlock so many great possibilities.
A neutral density (ND) filter is a tool used in photography to reduce the amount of light entering the lens, thus allowing you to control exposure in bright conditions while maintaining the aperture and shutter speed settings.
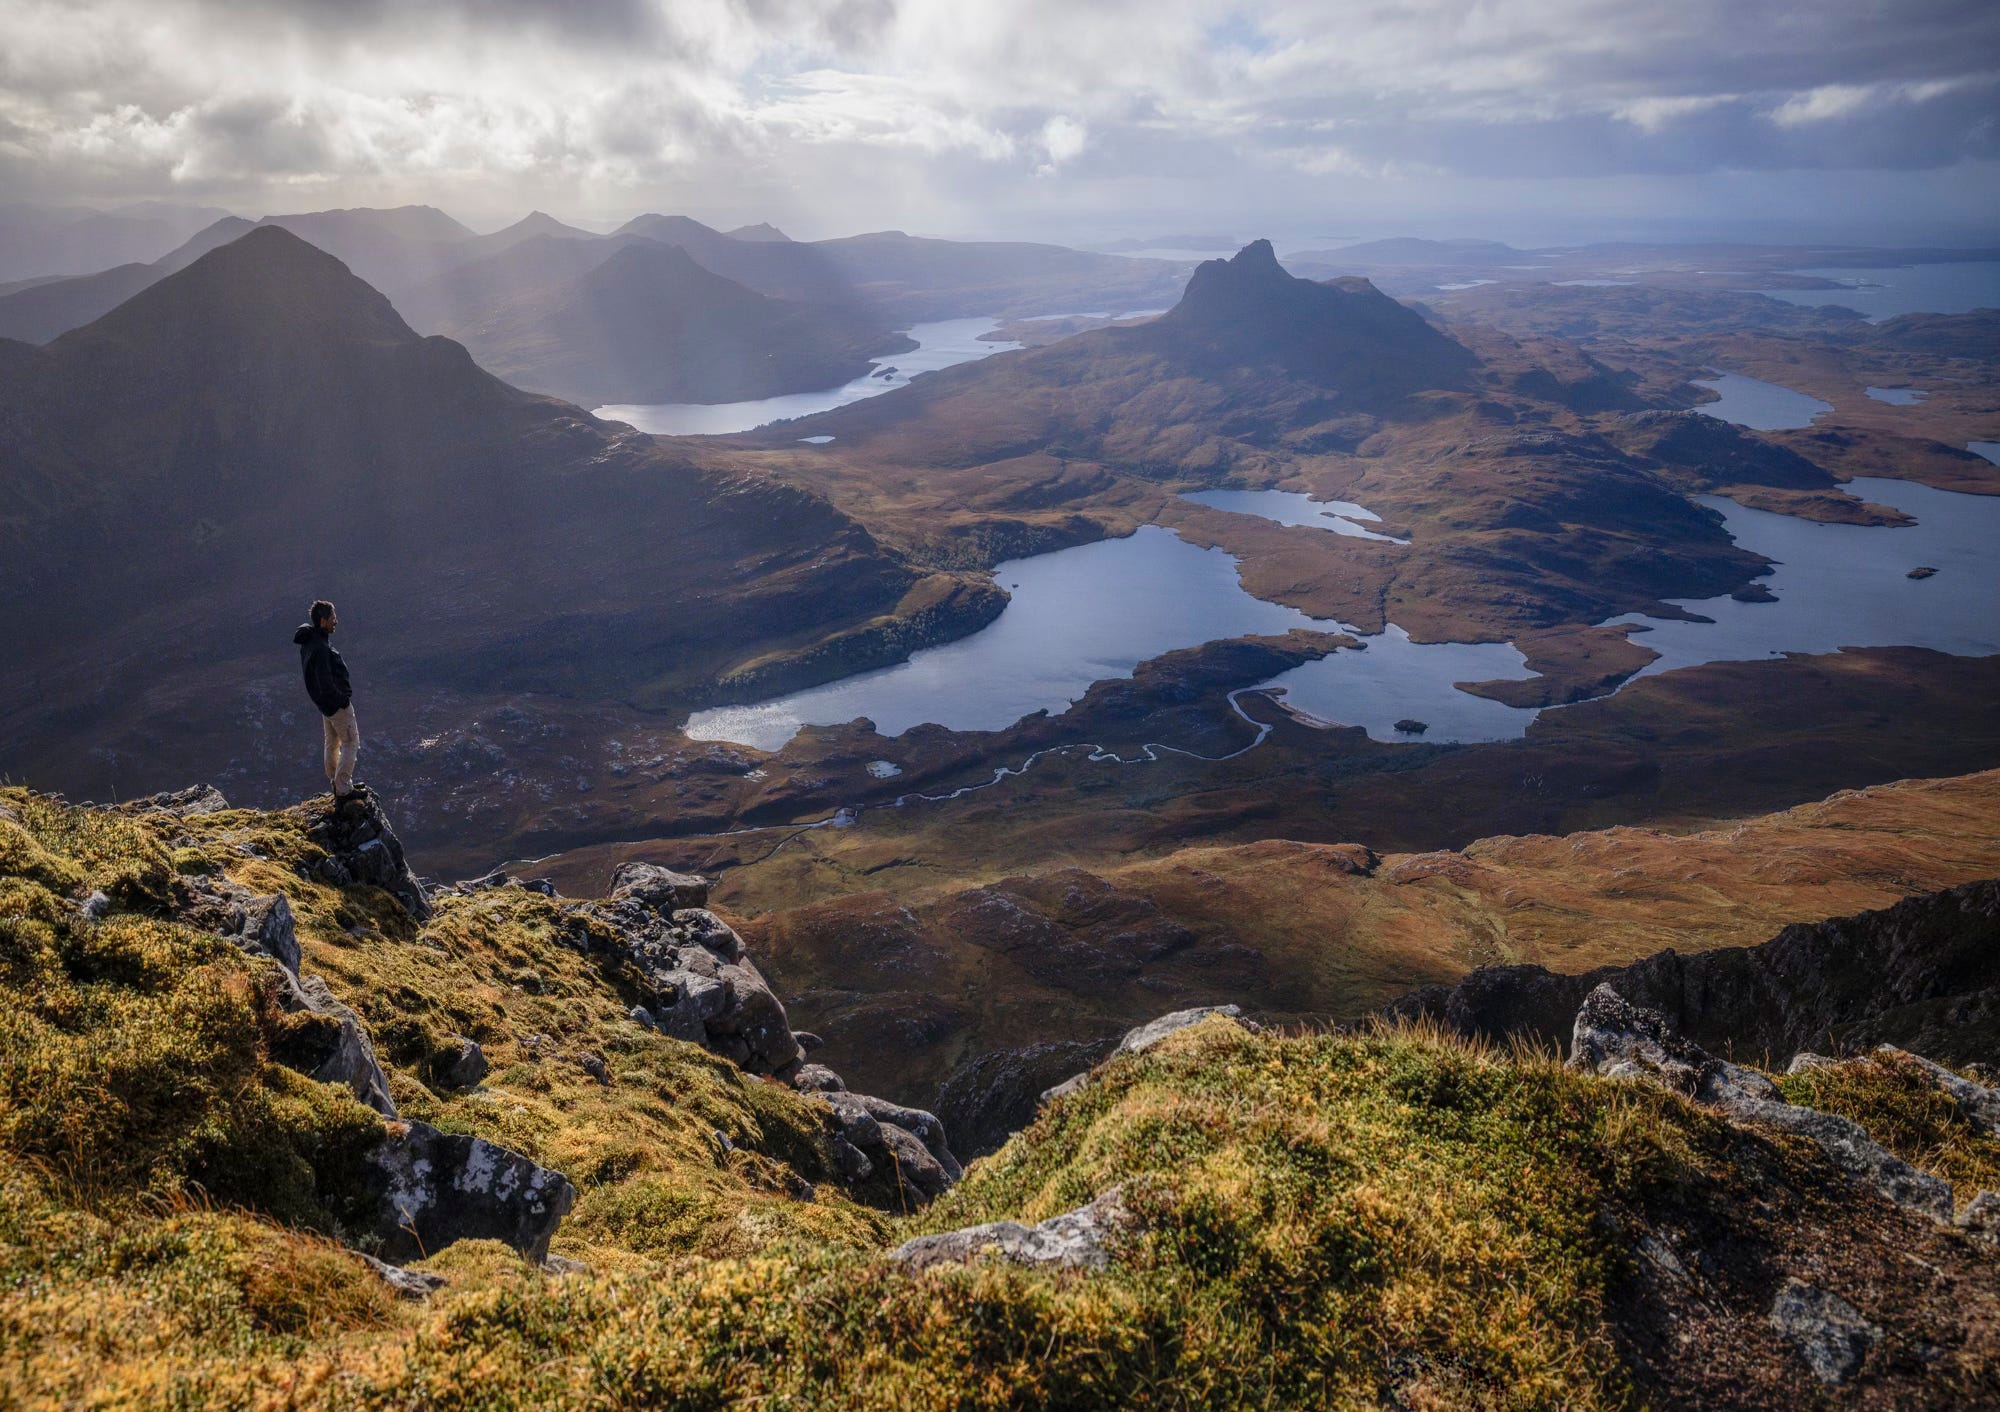
I’m a huge fan of near-opaque ND filters for long exposures of landscapes in the daytime. My 10-stop goes everywhere I go. The effect it creates is near-impossible to replicate in post-processing and can take an image to the next level when used judiciously. Typically, I'll consider using an ND whenever I'm shooting fast-moving water or dynamic skies.
Here are some more specific pointers for you!
10 Tips for Making the Most of Neutral Density Filters
Fixed/solid versus variable. I suggest staying away from buying the variable ones. Those are ND filters that allow you to choose the amount of light you want to block out. I’ve tried a few and have yet to find one that doesn’t “act up” and create serious vignetting/haloing. If anybody has one they like, please let me know! I currently have fixed 3-, 6- and 10-stop NiSi filters. All three come with me if I'm shooting roadside, and the 10-stop is the only one I'll bring if I'm going into the backcountry.
Colour cast. Most ND filters, especially the cheaper ones, will have a colour cast, typically on the magenta side. Not to worry: if you shoot RAW, you can quickly fix that with the colour balance slider in post. With time you’ll learn what is the exact value you need to choose for perfect compensation. I find my NiSi ones don't lead to many colour casts.
Take several images. Because you’re shooting moving elements, each new frame has the potential to look wildly different from the last one, even if your settings are unchanged. Don't assume that the best cloud/water pattern you can get will be the first one you happen to shoot. Make a point of capturing 5-10 frames so that you can choose the best one later.
Stacking filters. It’s definitely possible. I’m personally a big fan of stacking the 10-stop with a polarizer. Just make sure your filters are cleaned regularly and that you buy the thinnest versions of the filters that you can to avoid vignetting on wide-angle lenses.
Focusing issues. Depending on your camera, you may be unable to focus (whether auto or manual) once you’ve added a 10-stop filter because it’s so thick and won’t let much light through. You’ll simply have to make sure you nail your focus (and get it off auto and into manual) before you add the filter. Nowadays, though, most LCDs will compensate as soon as you throw the filter on, and you'll be able to work the way you usually do.
Don't assume without trying. Often I don’t know if my image will be better with or without the filters by just looking at the scene. I just need to try it on. When shooting landscapes, I’ll usually get the filter-free version of the shot (faster exposure), and then try something like 5 seconds, and then 30 seconds or so. It’s sometimes surprising which version I end up liking the best. Often, before I get my filters out, I will use the Long Exposure setting on my iPhone just to gauge whether the long-exposure version of my scene has any potential.
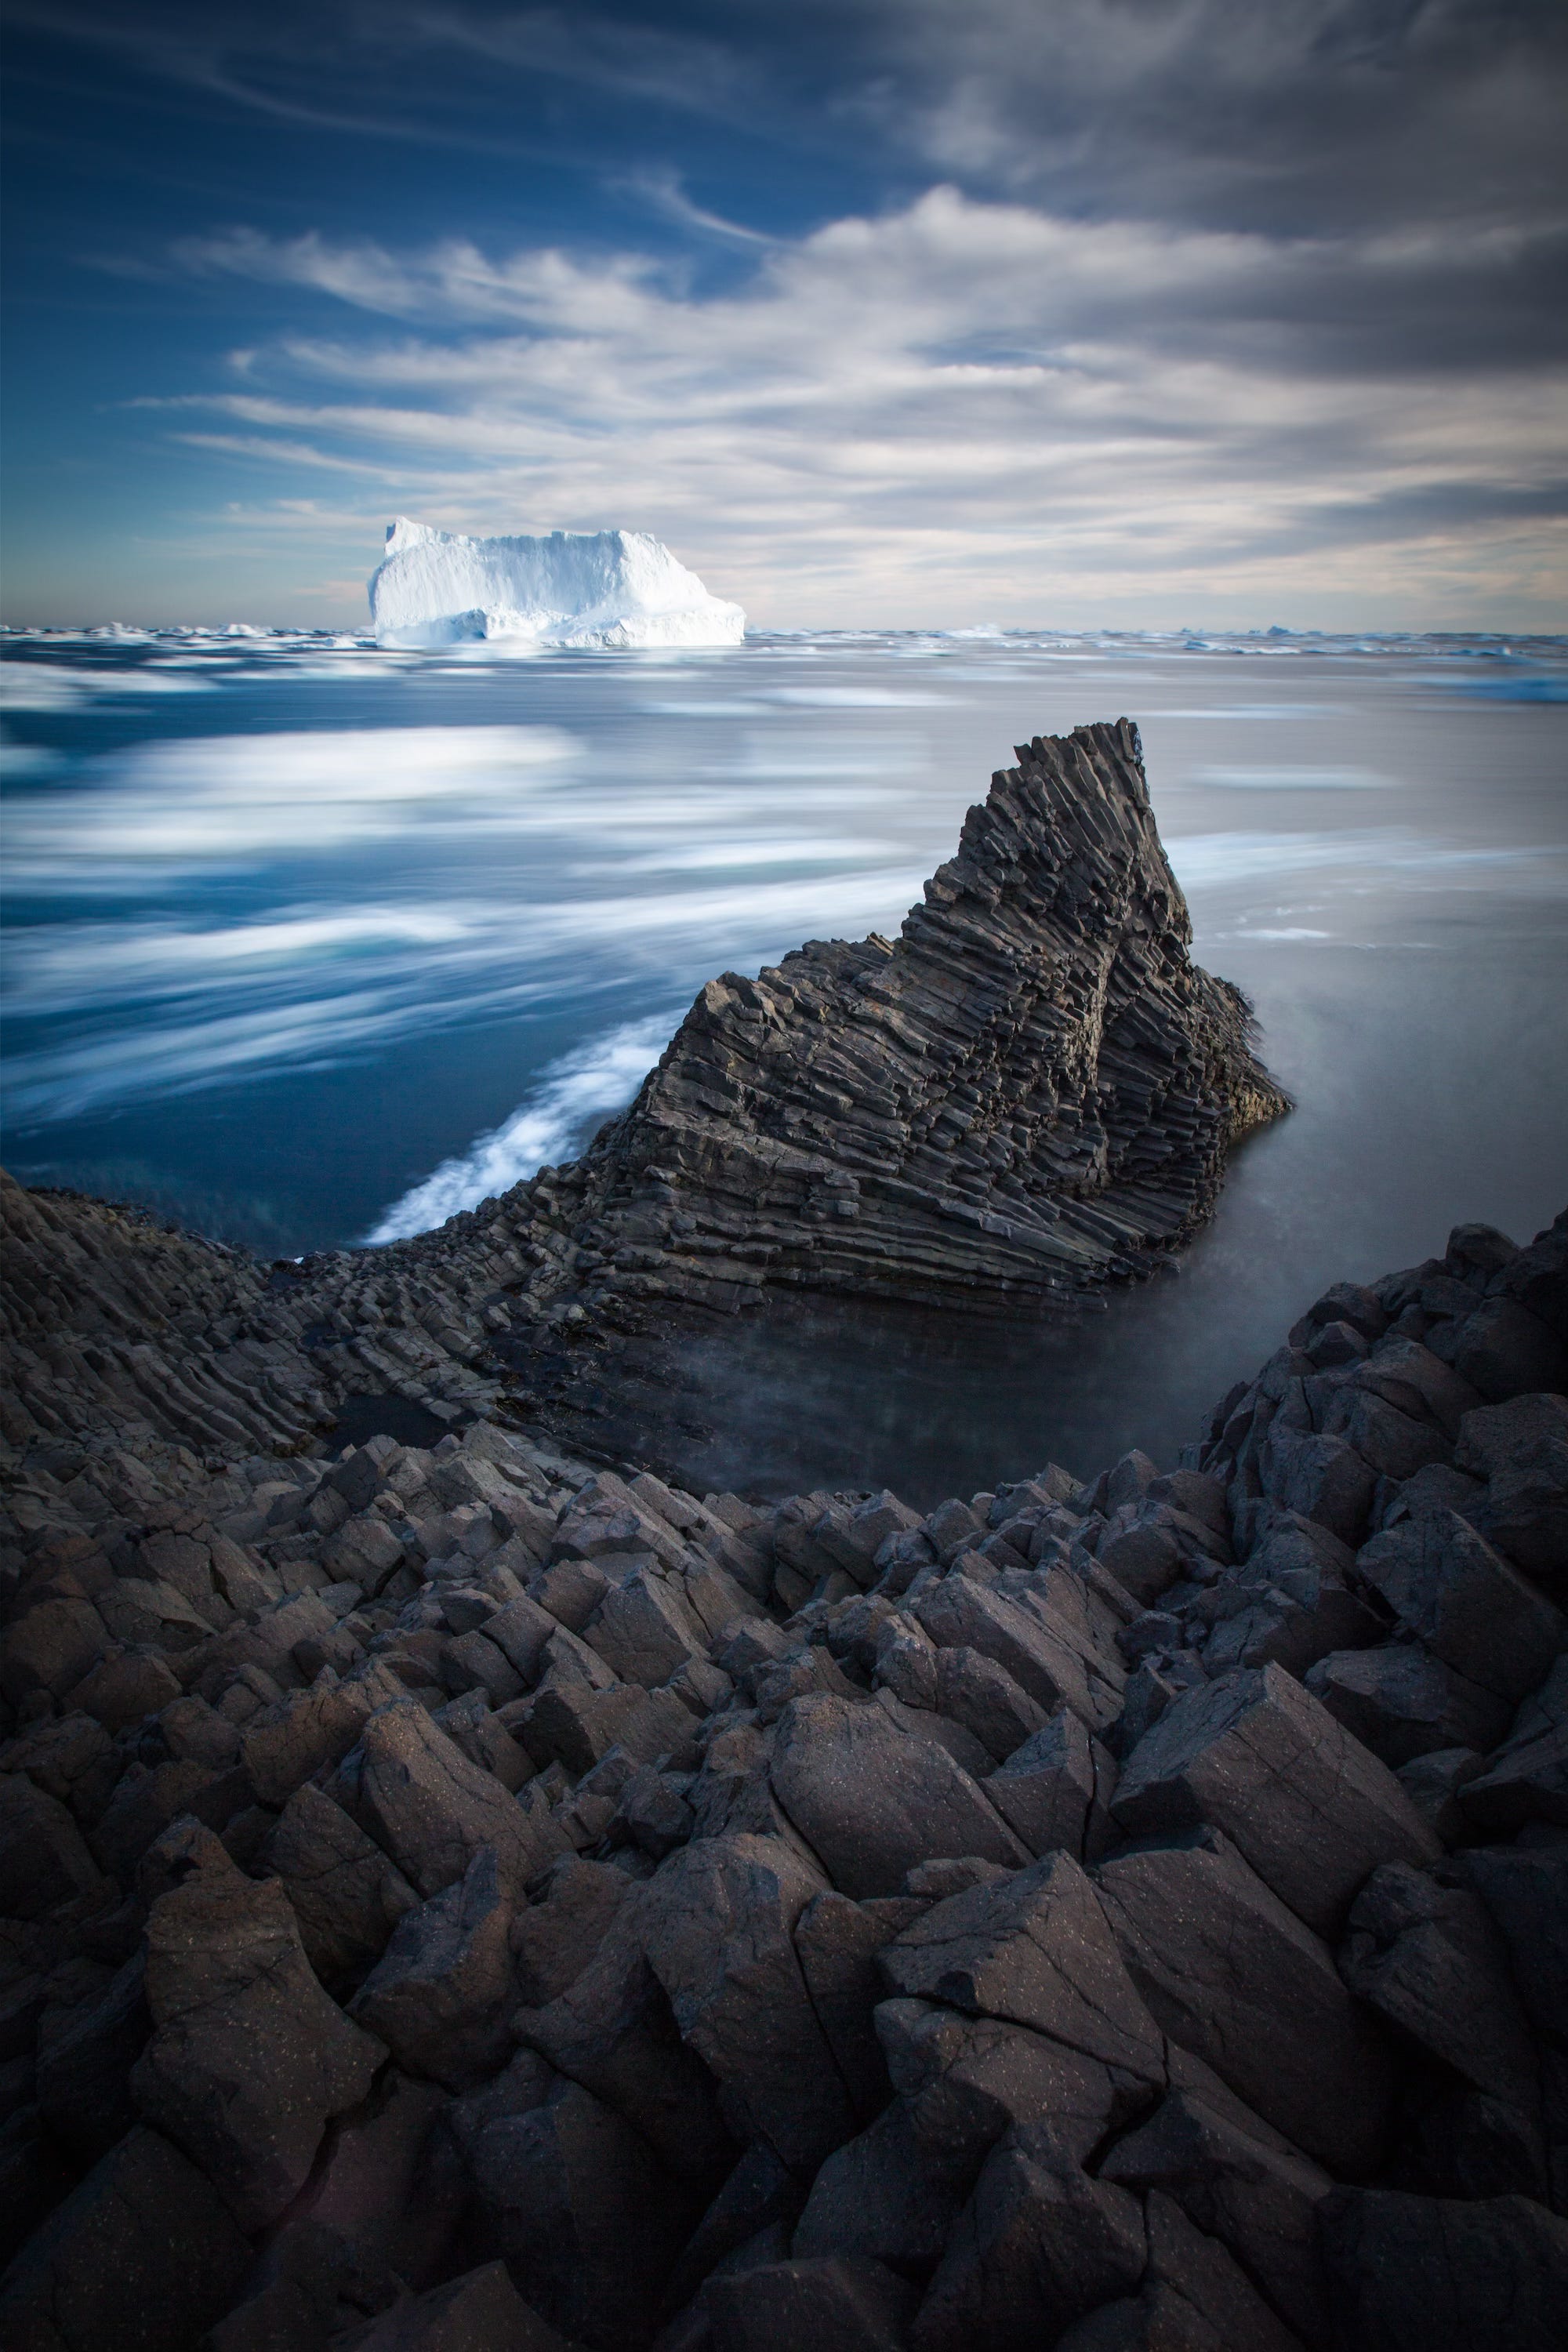
Get playful. Long exposures are not just for clouds and water. You can get some really neat effects by blurring trees, grasses, icebergs and reeds.
Clean up a scene. For instance, if you’re in a busy travel destination you can “eliminate” tourists by using a long exposure. Given that everyone's in a rush to visit and is unlikely to stay in the same spot for 30 seconds or more, a long exposure will blur out those pesky humans.
Stabilize. Since you’re dealing with long exposures and set up on a tripod, remember to turn all stabilization off and your timer on (or use a release). Also, do everything you can to stabilize your tripod, especially if you're shooting at longer focal lengths.
Focus on the story. Just because you own the filters it doesn’t mean you need to use them for everything. I made this mistake when I started to use them. So often, blurring out the clouds or water simply won’t make for a more compelling image. As photographers, we sometimes think that adding cool gear will make up for a poor composition or improve light that isn’t cooperating. If the filters don’t help you tell your story better, don’t use them. Experiment and develop a spirit of self-critique!

Coming Up…
Paid subscribers can access exclusive content and have direct access to Paul Zizka for questions about the craft and business of photography.
Coming up next month is a new series I’m calling REFRAME in which I’ll provide an edit of two of our community’s RAW images and explain my choices along the way. The intent is to encourage us all to break out of our habits and routines with post-processing and consider other possibilities.
Featured Workshop
✨ THE CREATIVE FLOW
February 1, 2025
Banff, Alberta
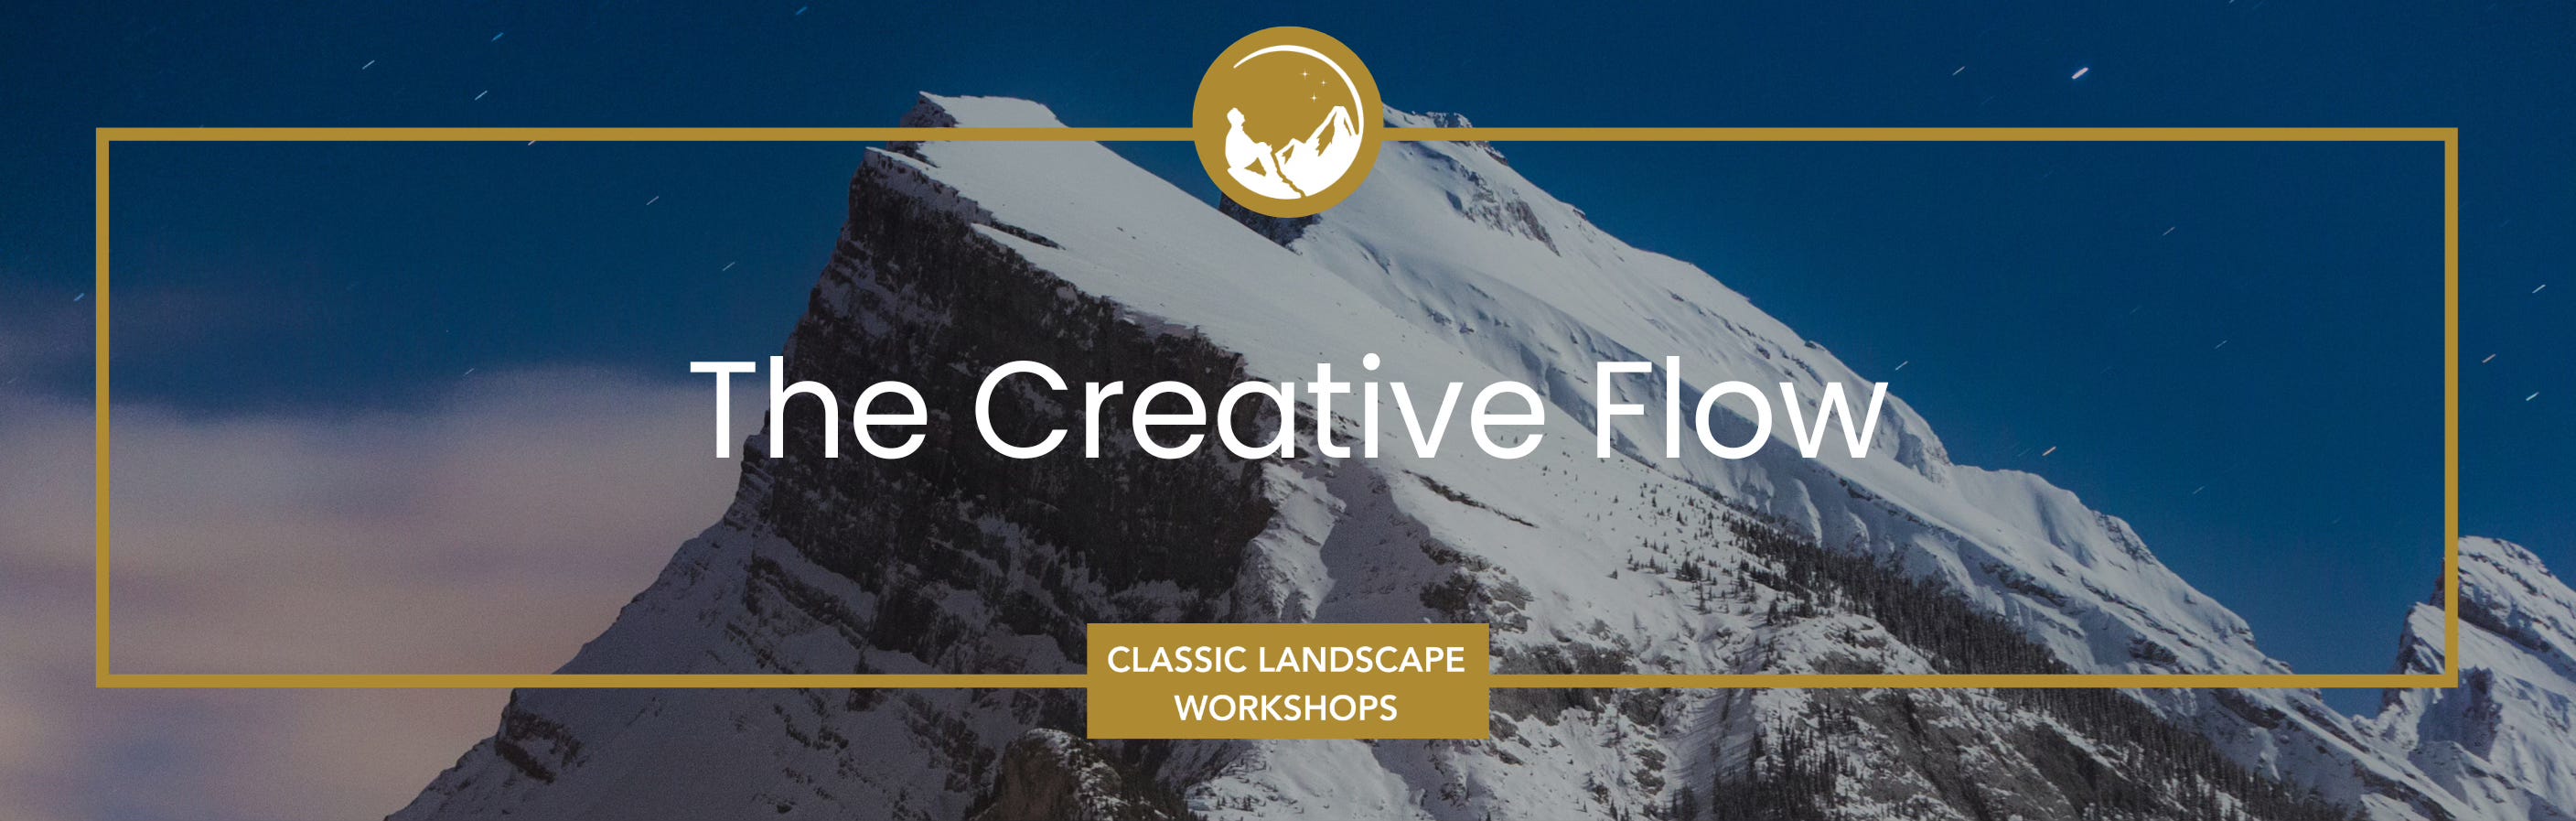
From sunrise to starry skies, this one-day Banff-based workshop allows you to tap into your creative flow while gaining insight into how I go about a day in the field, from location selection to composition, camera settings and adjusting according to conditions.
"I cannot say enough about the day, the people I got to meet, the things we saw, the creativity flowing... I learned so much yesterday, and I can't wait to sign up for the next one!"
-L.
"I spent a most epic day with an amazing crew of humans at The Creative Flow workshop in Banff. I immersed myself and learned so much about in the field workflow... having mentors to ask questions and gain a better understanding was incredibly helpful. Just awesome."
-M.
This workshop is suitable for all levels of photography and fitness levels. Photography locations are roadside, with some walking on uneven surfaces.
Quick Links
Online Store - Prints, Books and More
Cryophilia Project - Documenting Vanishing Ice